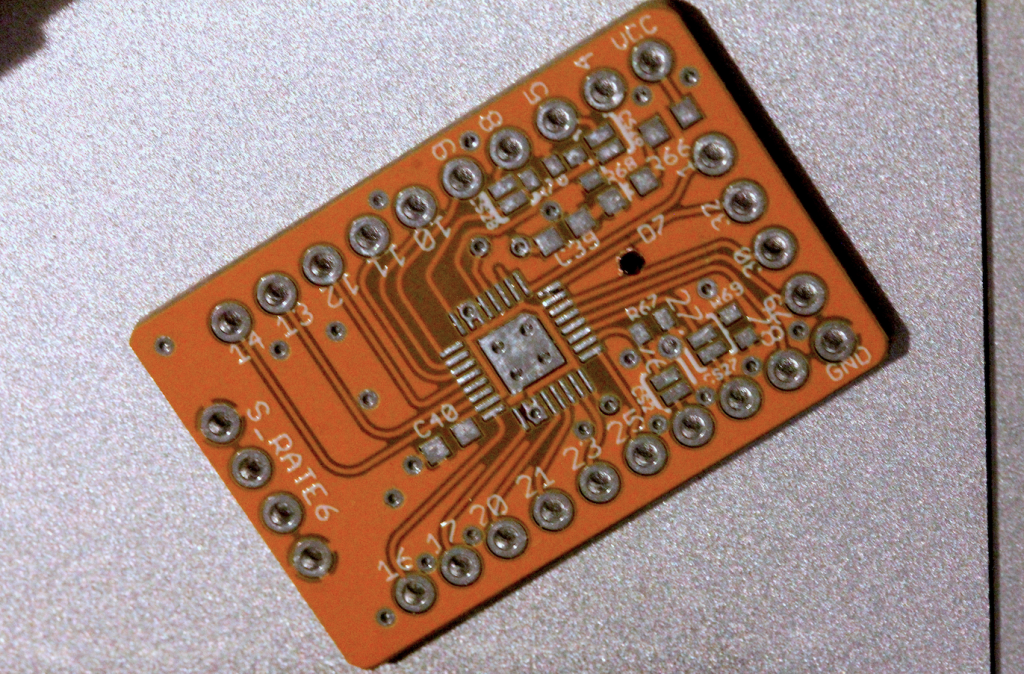
The dacHandler piggyback board arrived and I immediately machined a hole for the reset switch, but the positioning is delicate, interfering with the X’tal at the very last minute.
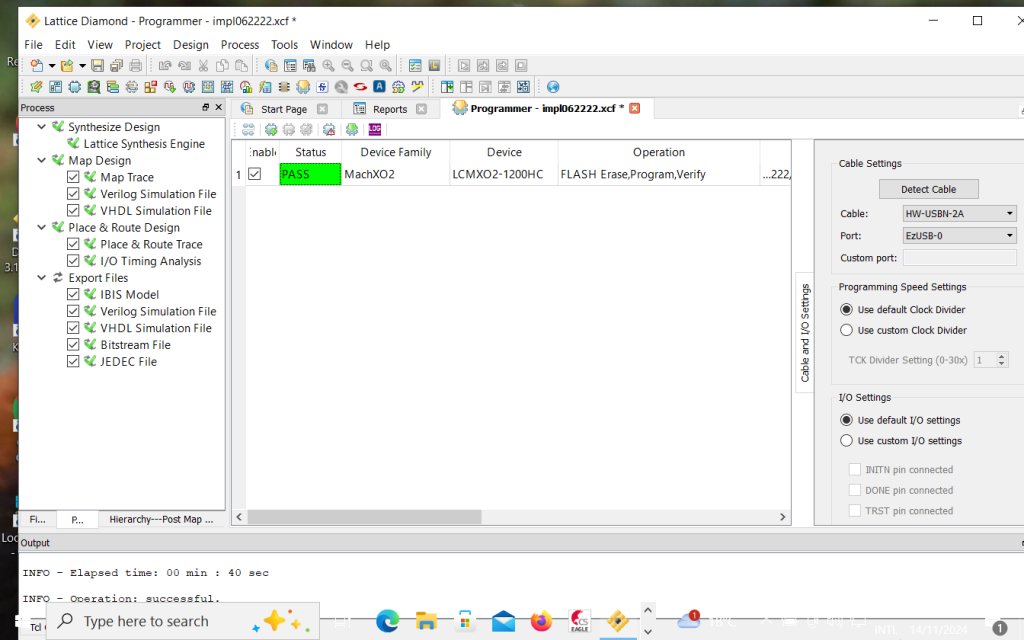
A jig for writing data to FPGA was fabricated.

Then, the firmware was written to the FPGA. Initially, the writing failed because I had forgotten that the polarity of the board was reversed from that of the previous board,
but by switching the position of the power supply pins, I was able to successfully write the firmware.
Received a group of printed circuit boards that had been ordered.
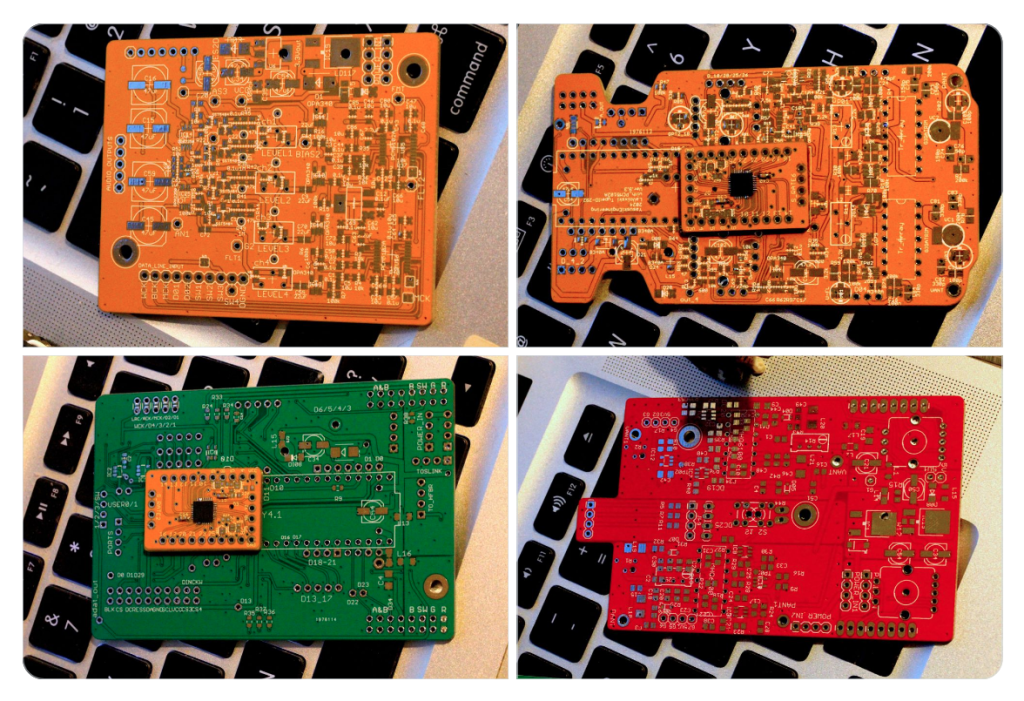
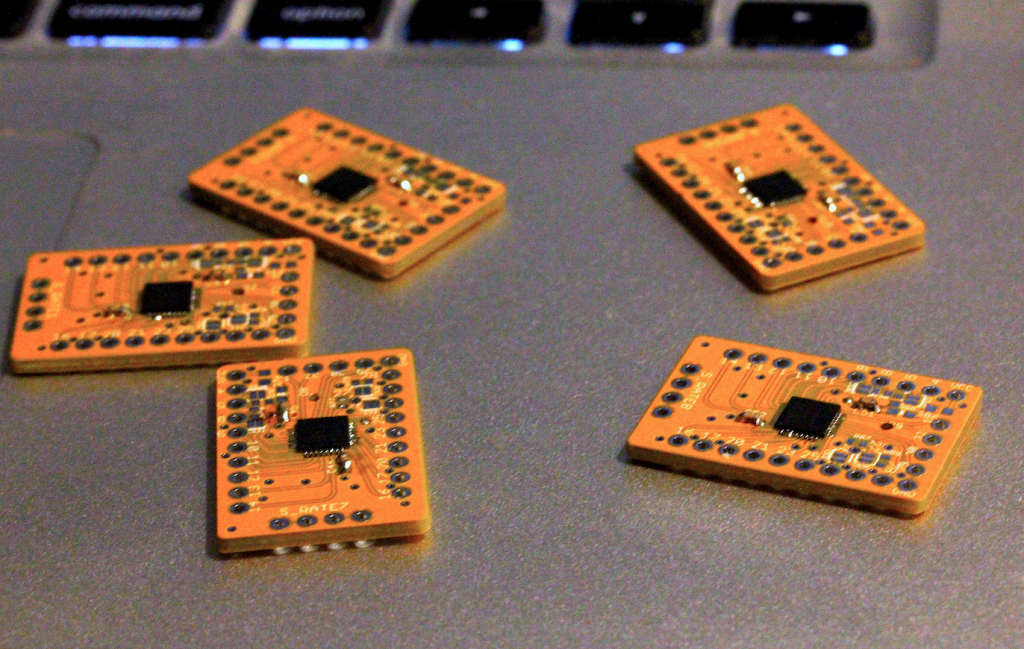
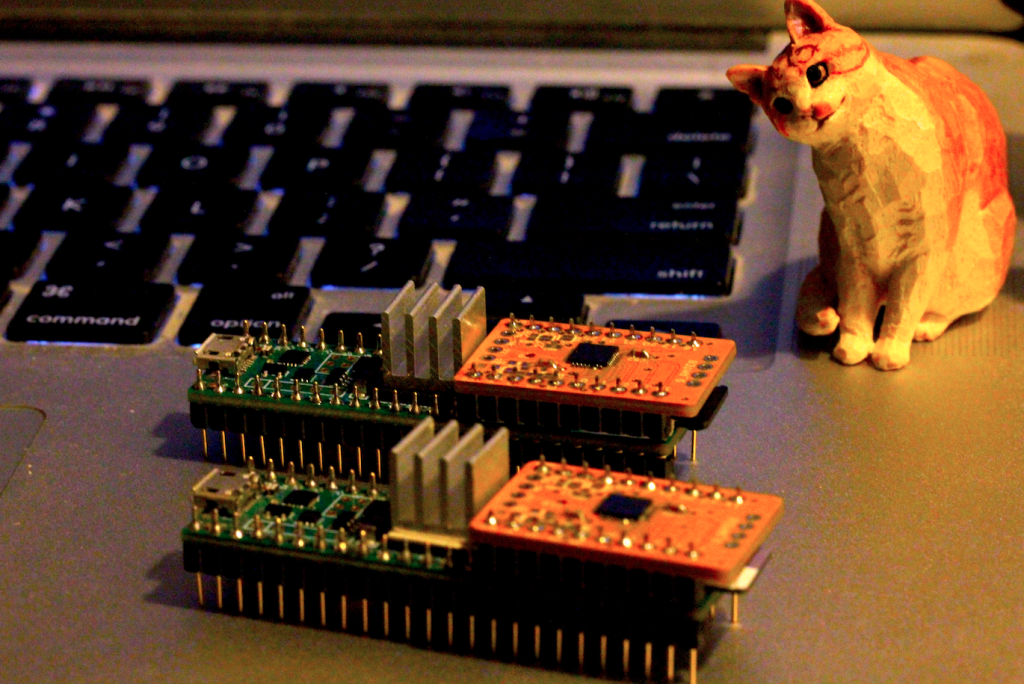
Assembling extra 5 FPGAs on the board.
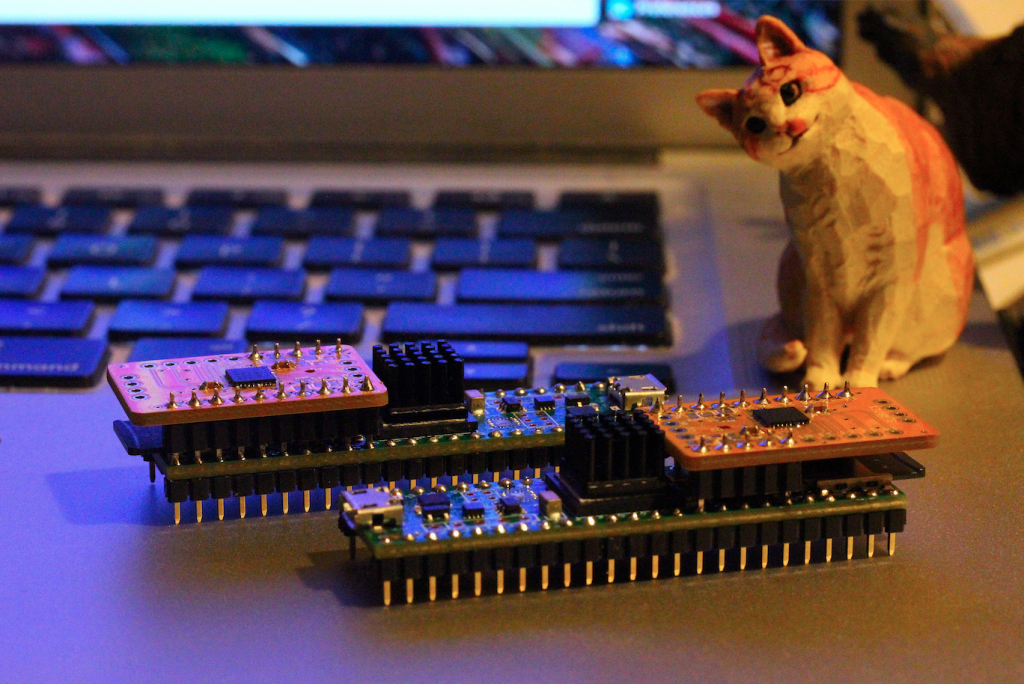
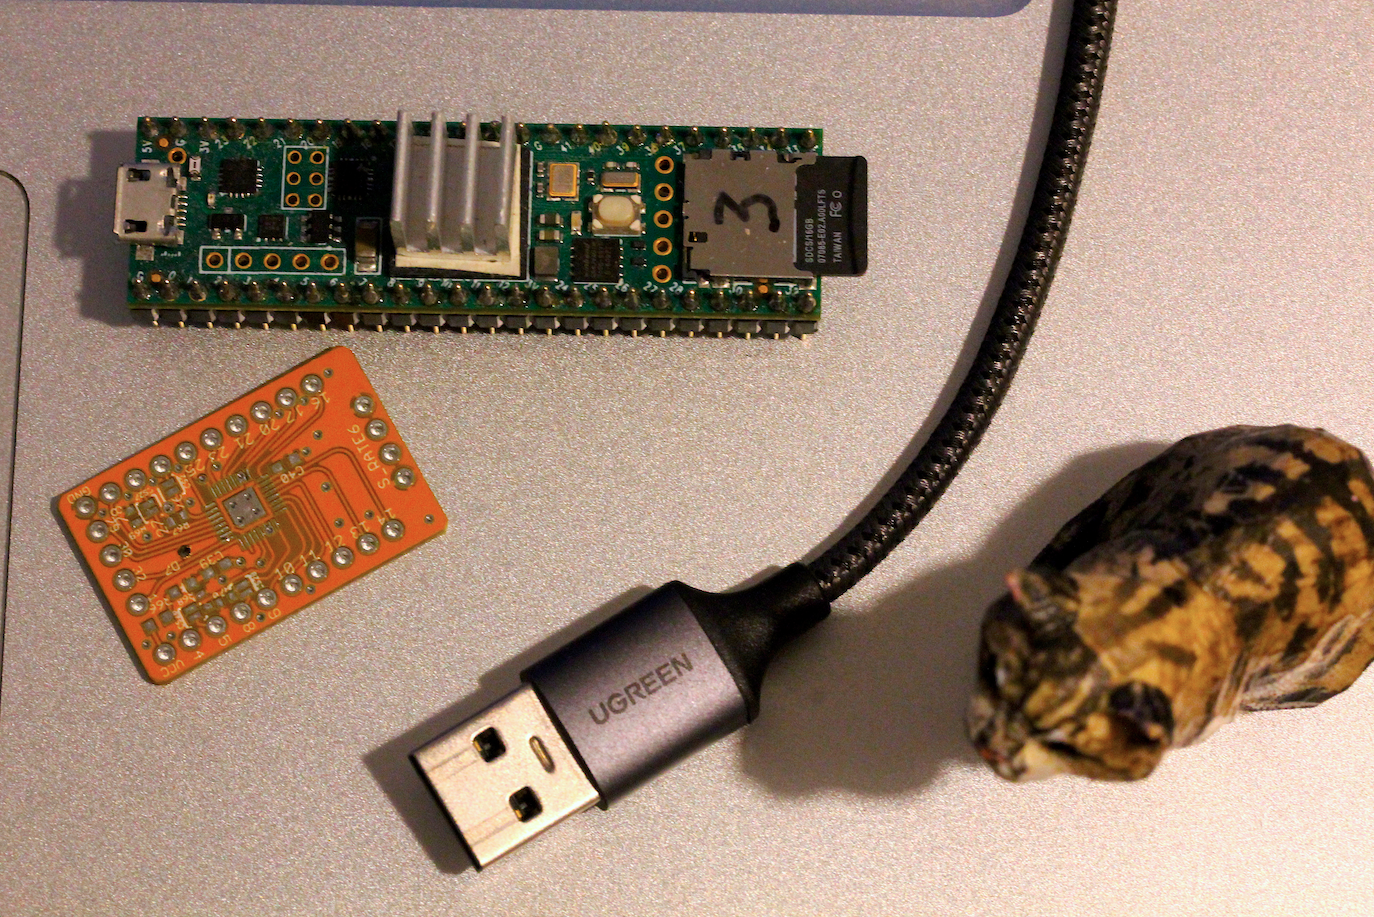
After mounting audio clock units on the board of dacHandler, I processed to attach them on MCU.
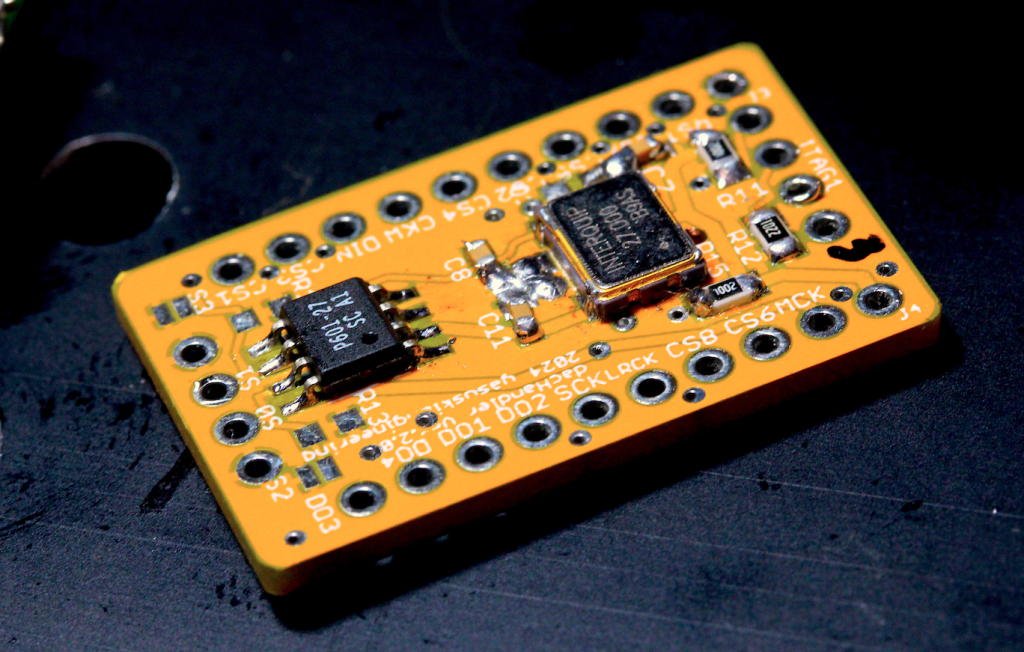
This time, the MCU was processed from a unit with the long type of round pins pre-mounted and connected to dacHandler, but when a new MCU unit is processed, low-profile pins and long pins will be mixed.

When installing pins on a new MCU board, use long pins to arrange the terminals on the top surface of the board. Long pins allow for more clearance, so there is no need to insulate around disconnected unused terminals.